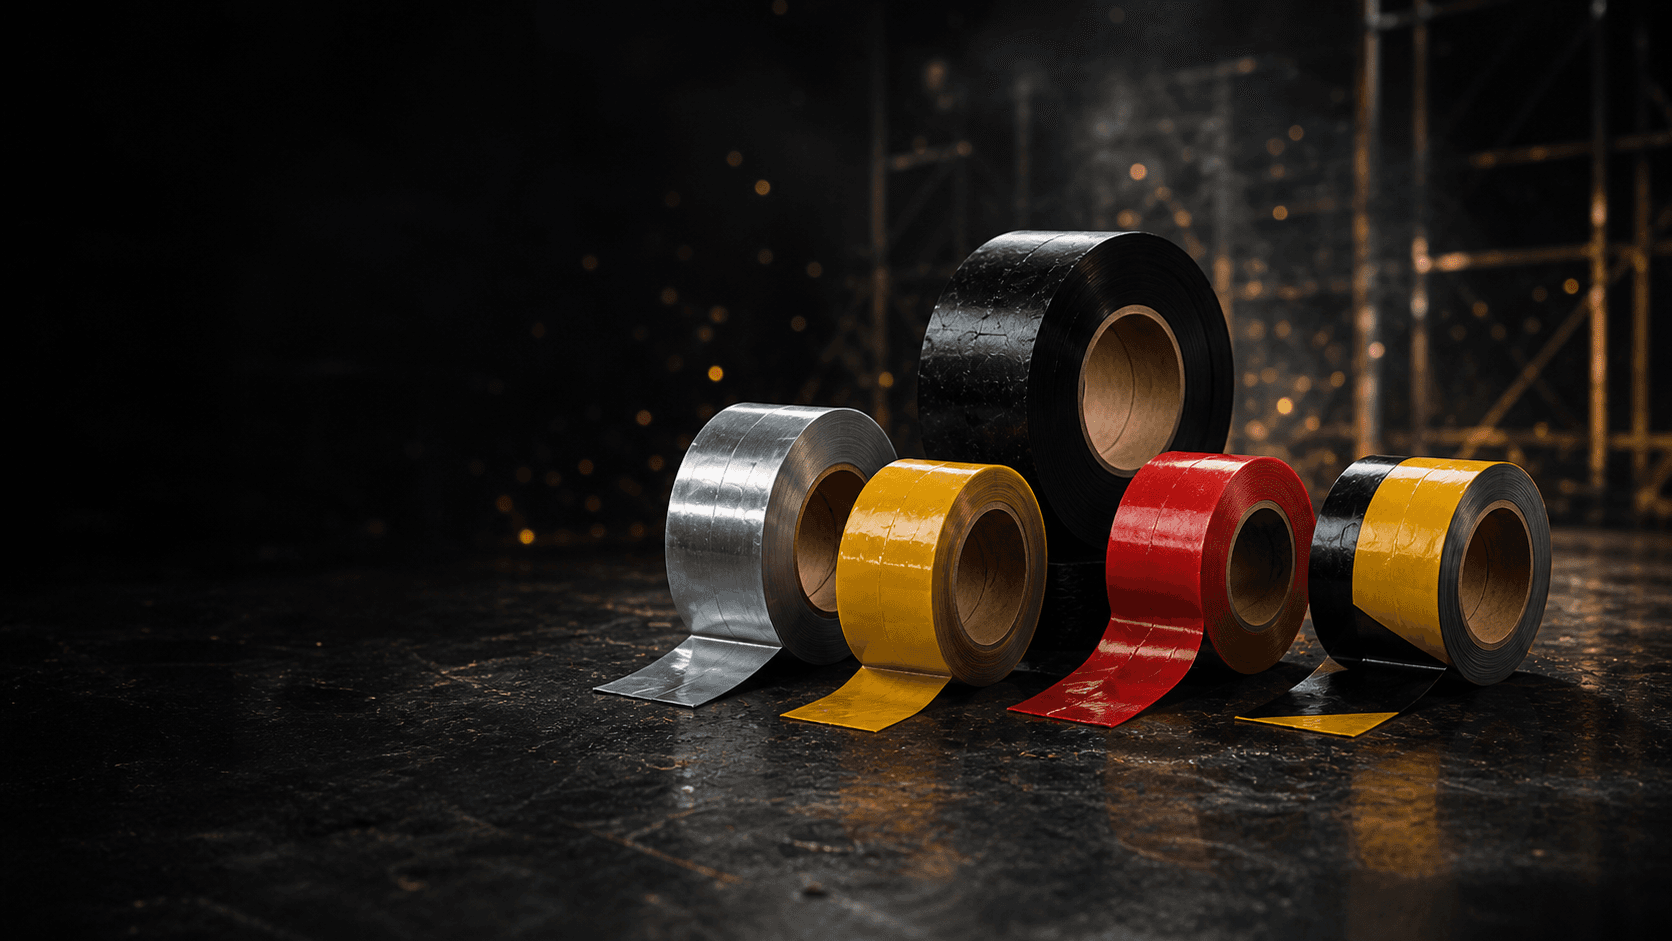
Self-Adhesive EPDM Foam Profile Finish the gap around the frame.
Give doors, hatches and enclosure edges a continuous contact strip. This black self-adhesive EPDM foam profile cuts to length and fits into a joint with the right closing clearance.
- Create a continuous contact line
- Place without separate adhesive
- Fit a measured gap
- Cover the contact area
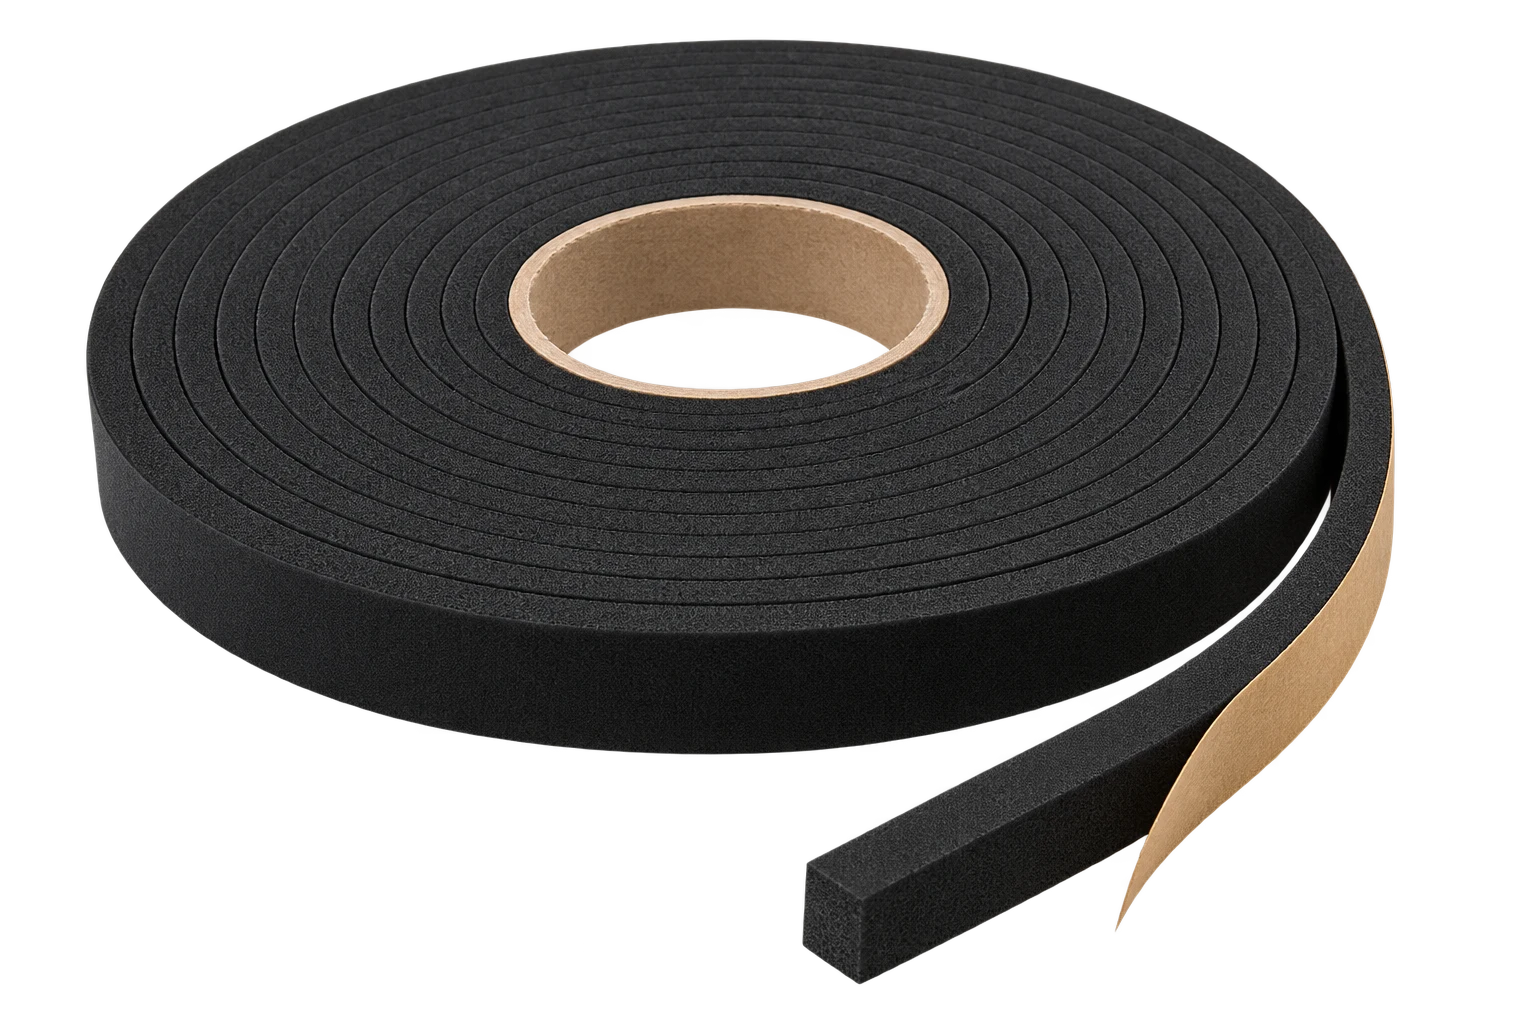
Create a continuous contact line
Cut the black foam profile to follow suitable doors, hatches or enclosure edges.
Place without separate adhesive
Peel the liner and press the profile onto a clean, prepared surface.
Fit a measured gap
The listed 3 mm thickness gives you a clear starting point for checking closure clearance.
Cover the contact area
Choose 30 mm or 50 mm to match the flat contact area available.
Run around longer frames
A 20 m roll supplies length for continuous frame runs and repeated details.
A finished contact line for doors and panels
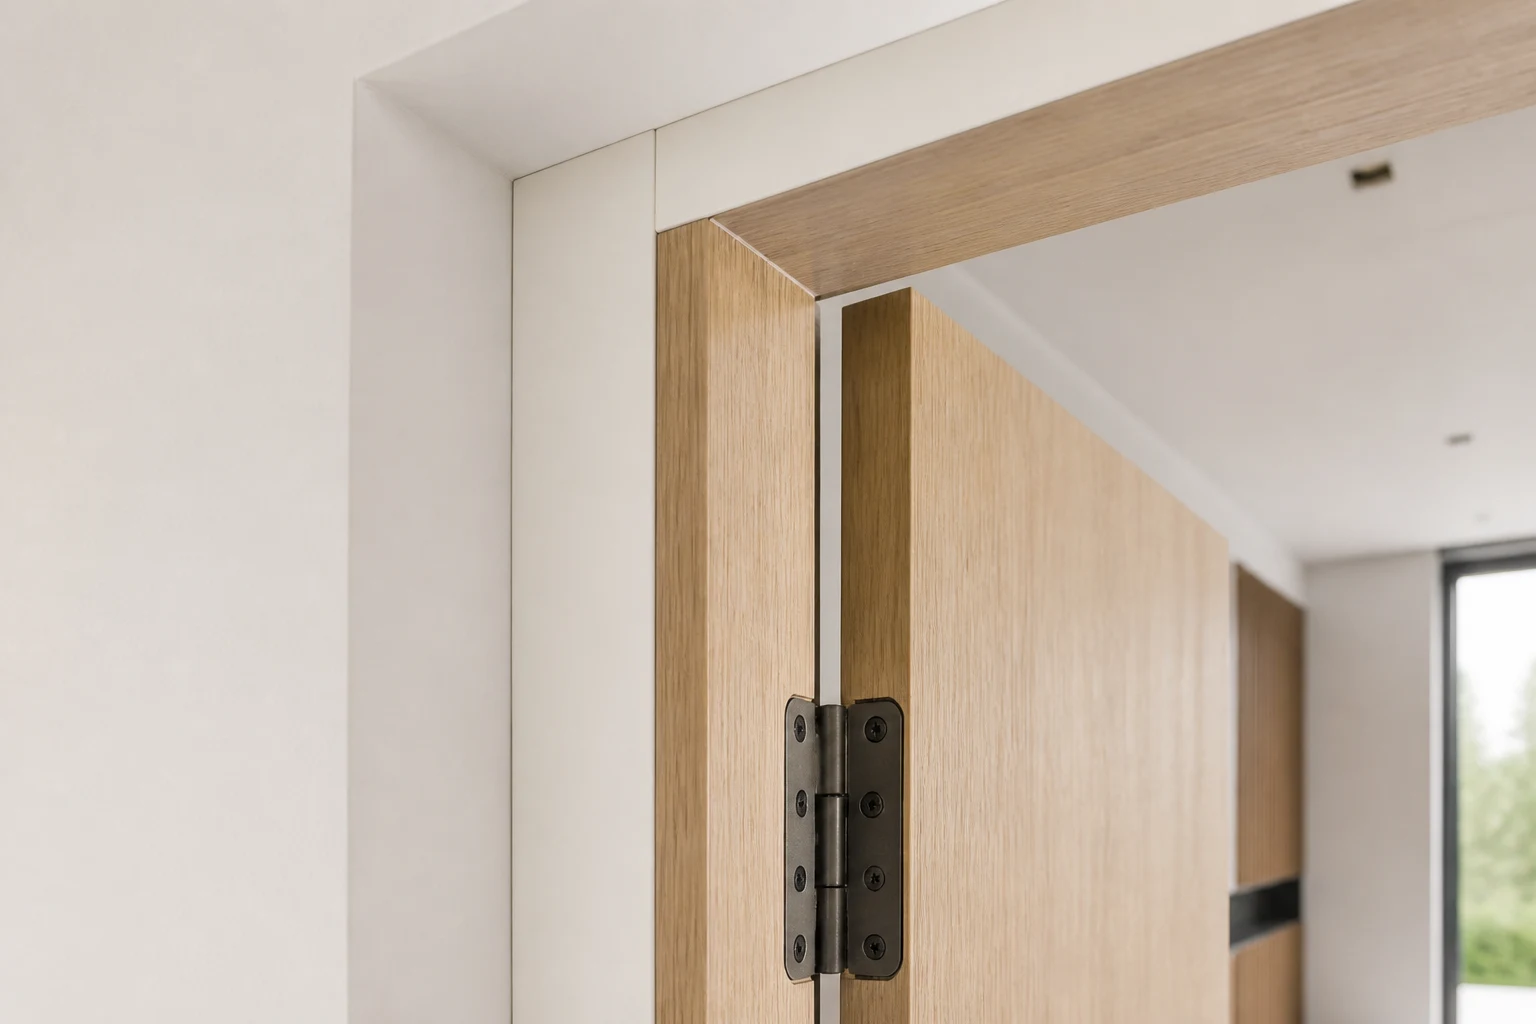
Door frames
Follow the door-frame contact line after measuring the closed gap.
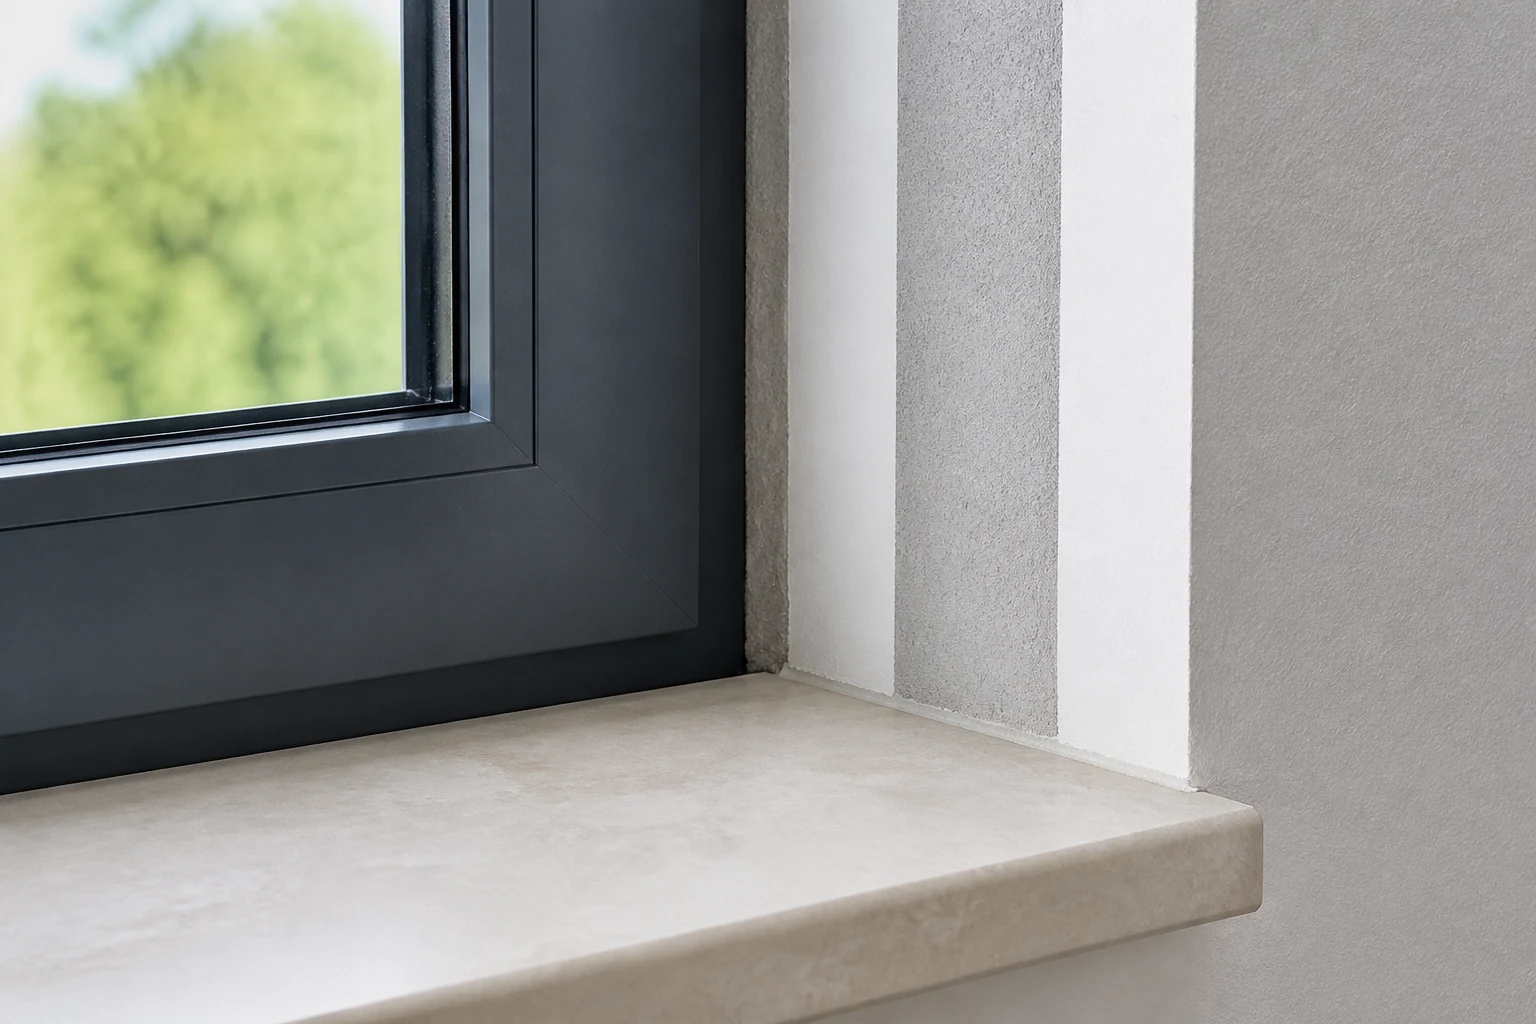
Window frames
Add a neat foam strip where a window frame has the required space.
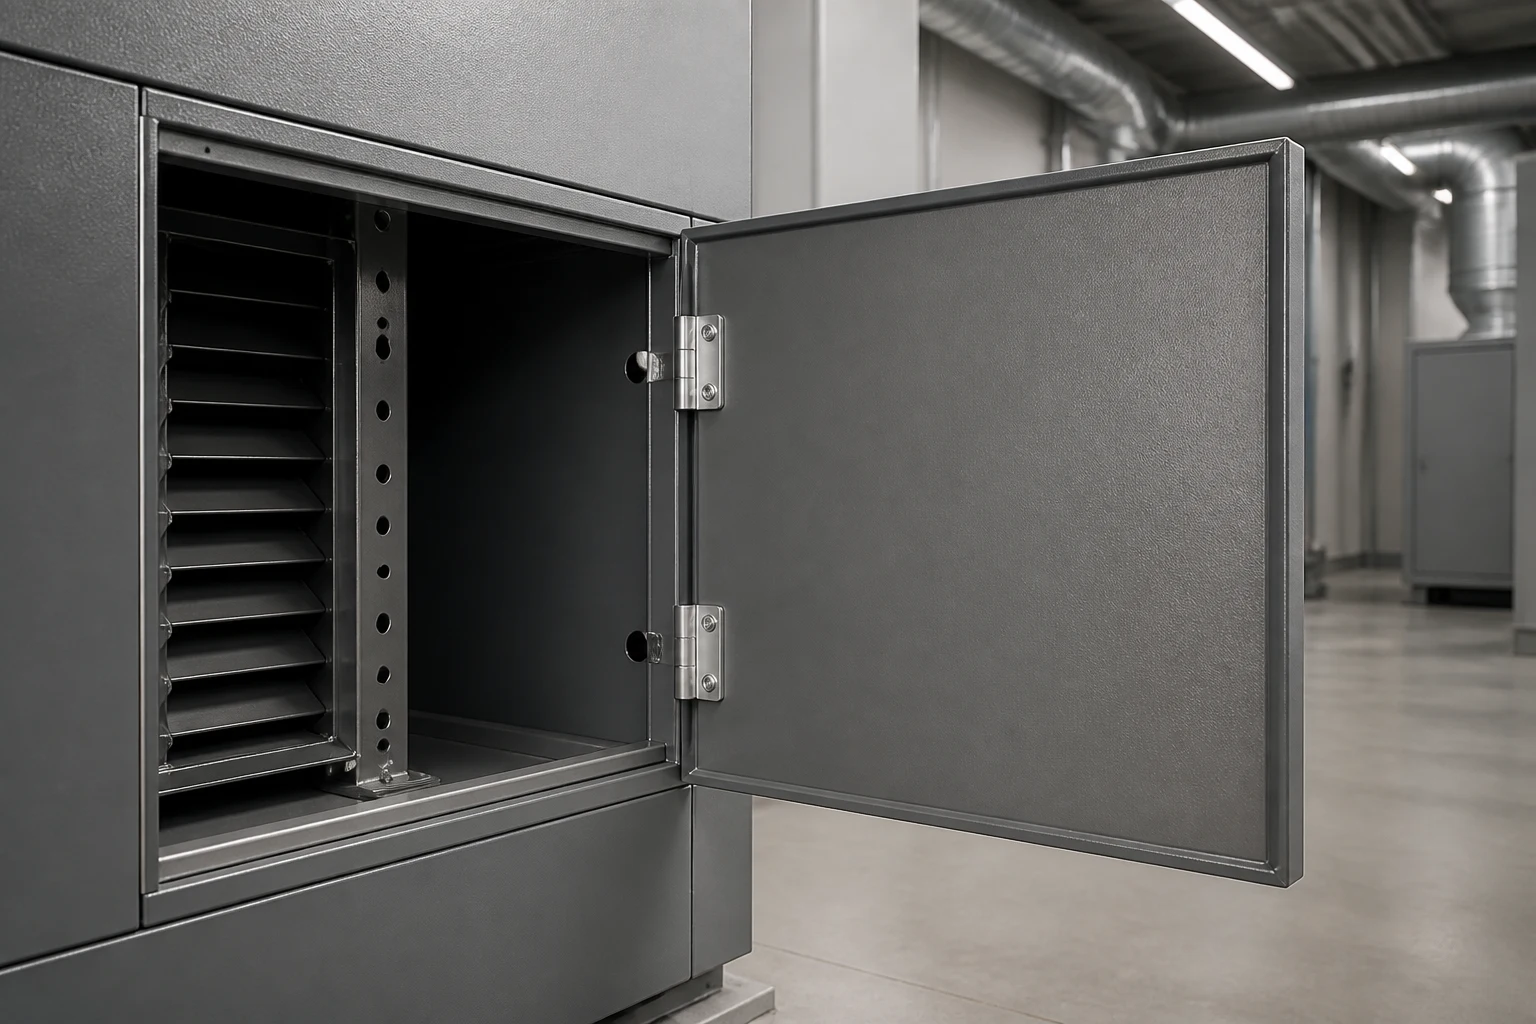
HVAC cabinets
Line HVAC cabinet and removable-panel contact edges with a continuous profile.
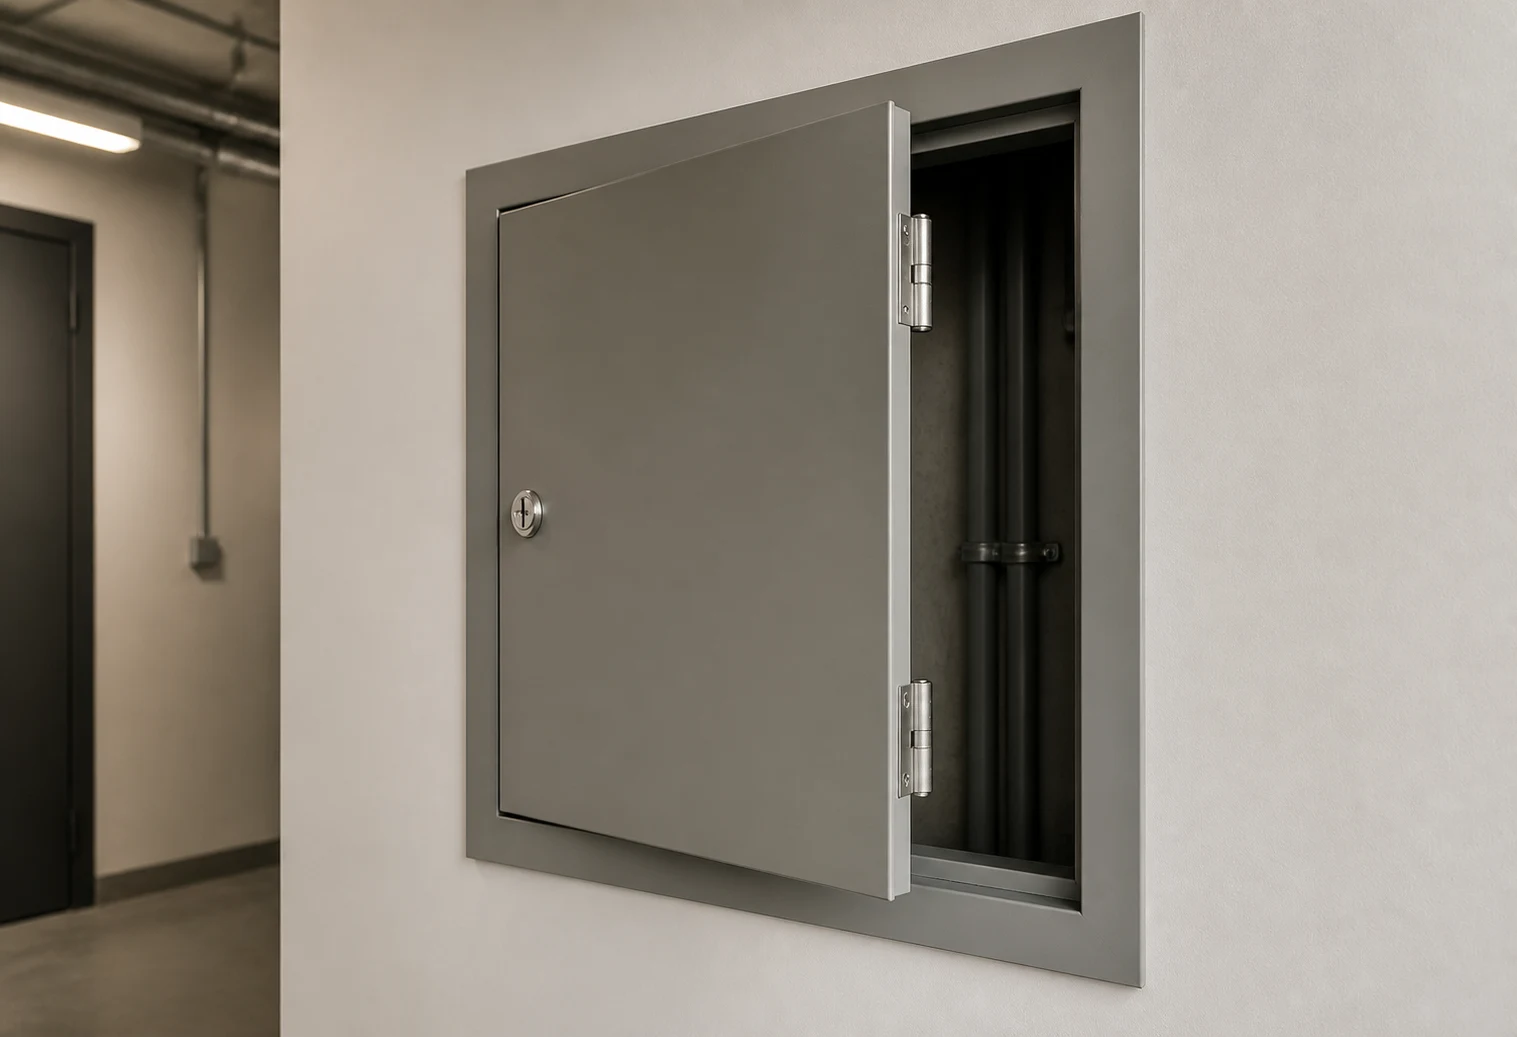
Access hatches
Run the profile around access-hatch edges without blocking the latch.
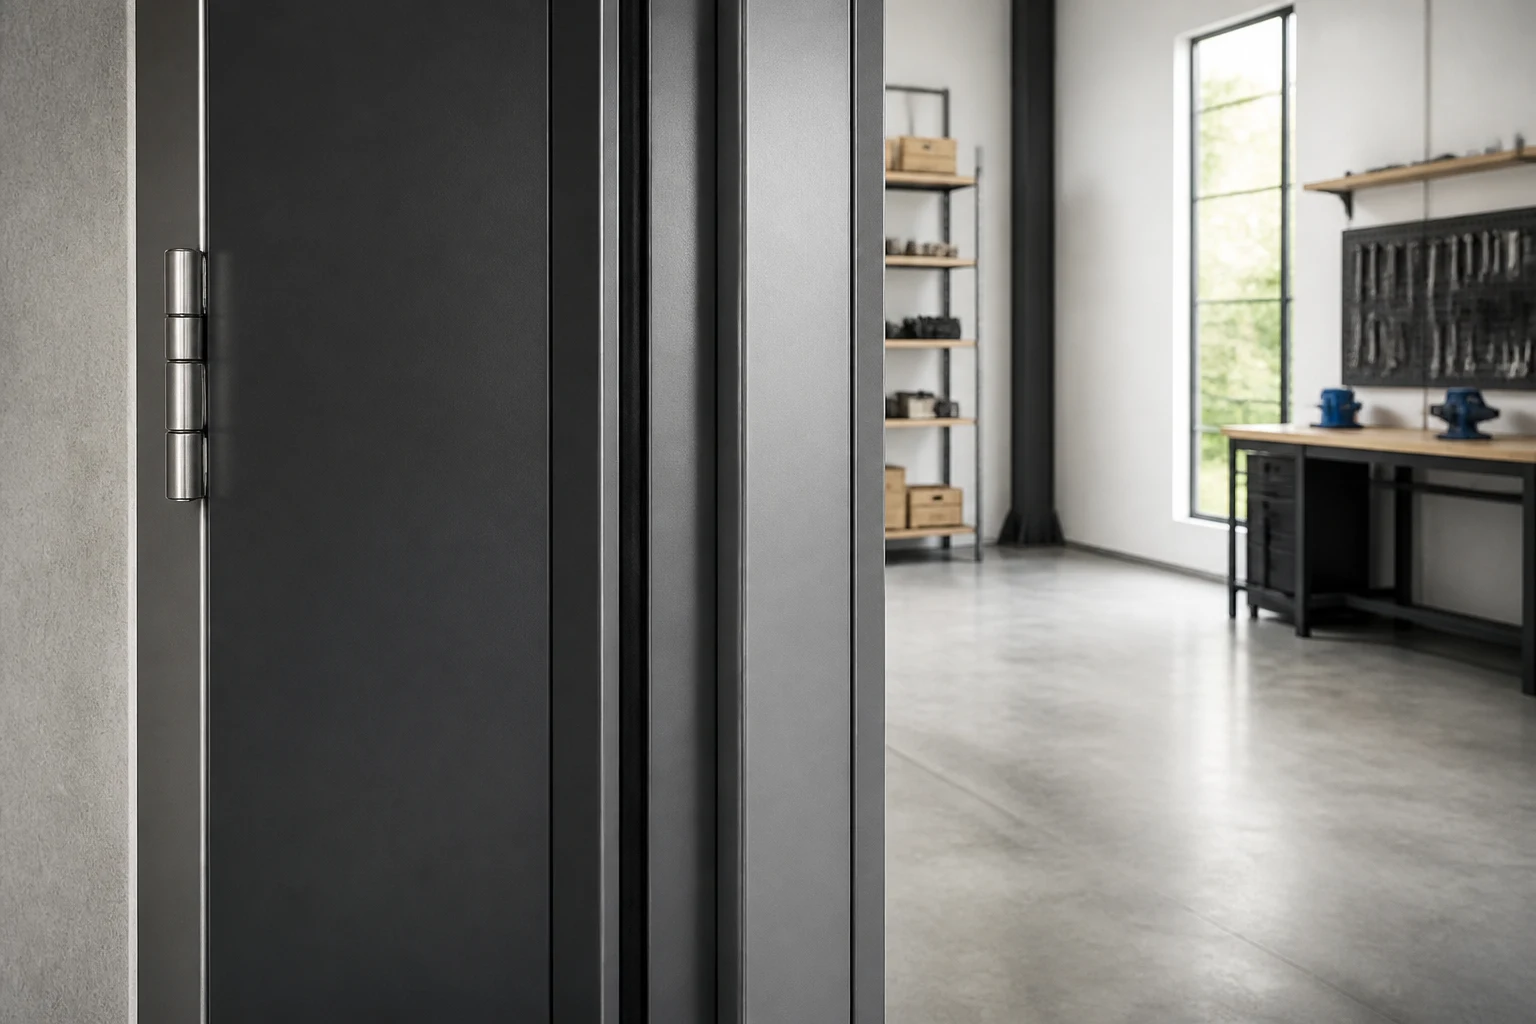
Workshop doors
Finish workshop-door contact areas after checking alignment and space.
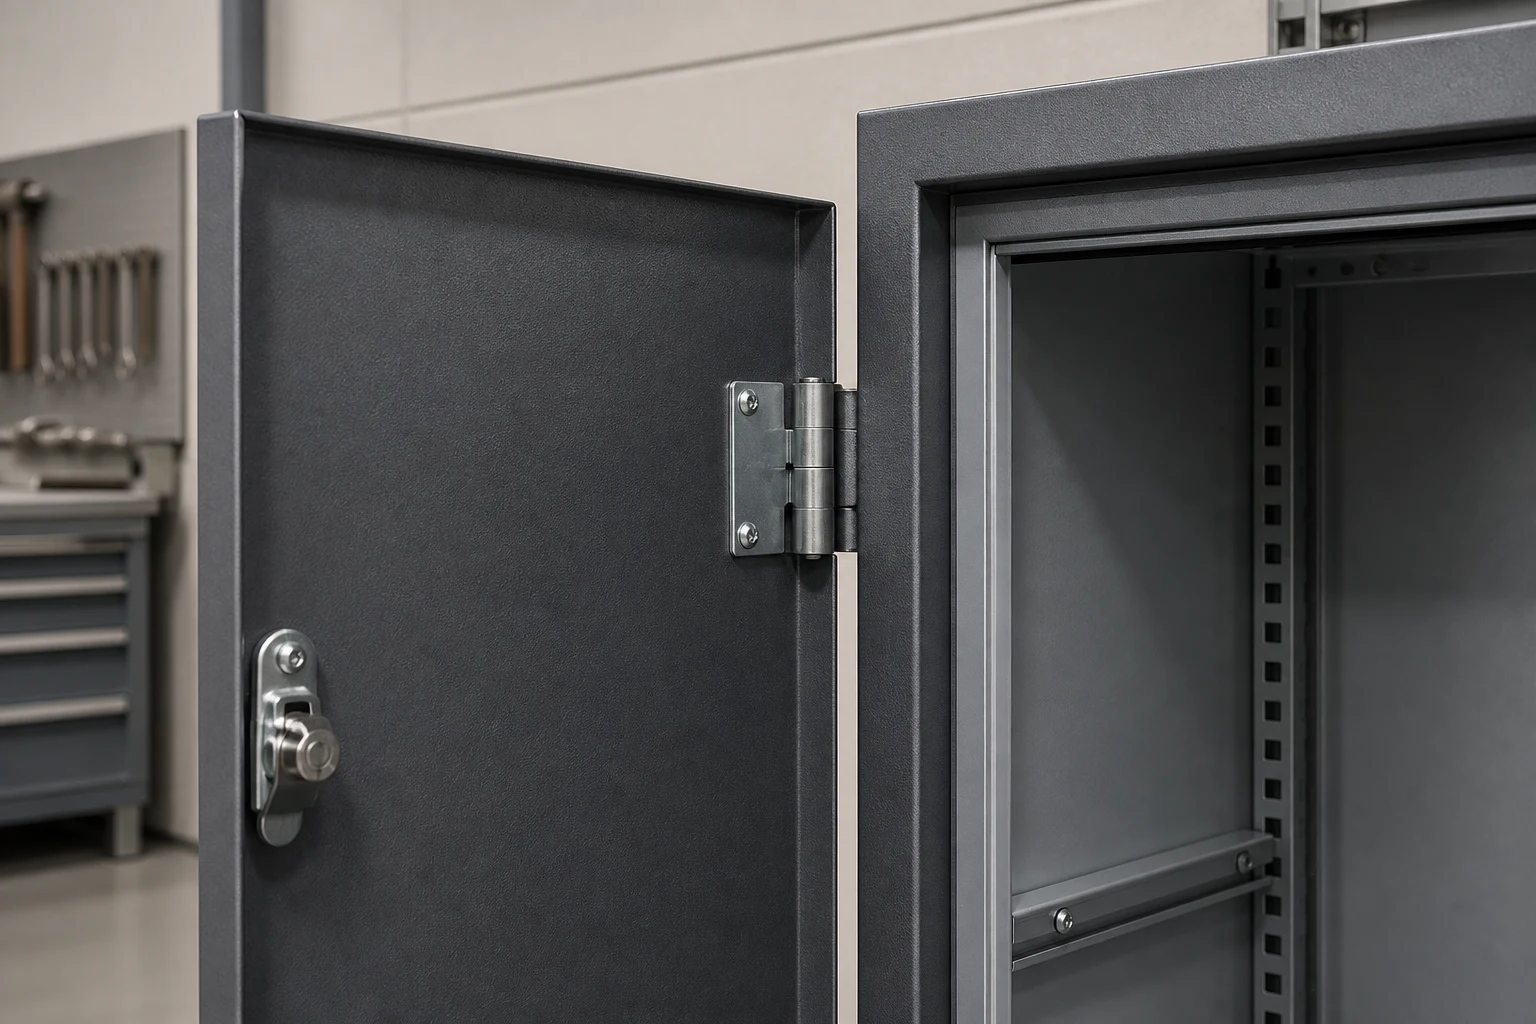
Service enclosures
Add a cut-to-length contact strip to service panels and technical enclosures.
Application and material illustrations. See product details for the listed formats.
A black foam strip for measured joints
Black EPDM foam profile · Self-adhesive backing
- Black EPDM foam profile
- Self-adhesive backing
- Brown release liner
- 3 mm profile thickness
- 30 mm and 50 mm widths
- 20 m roll length
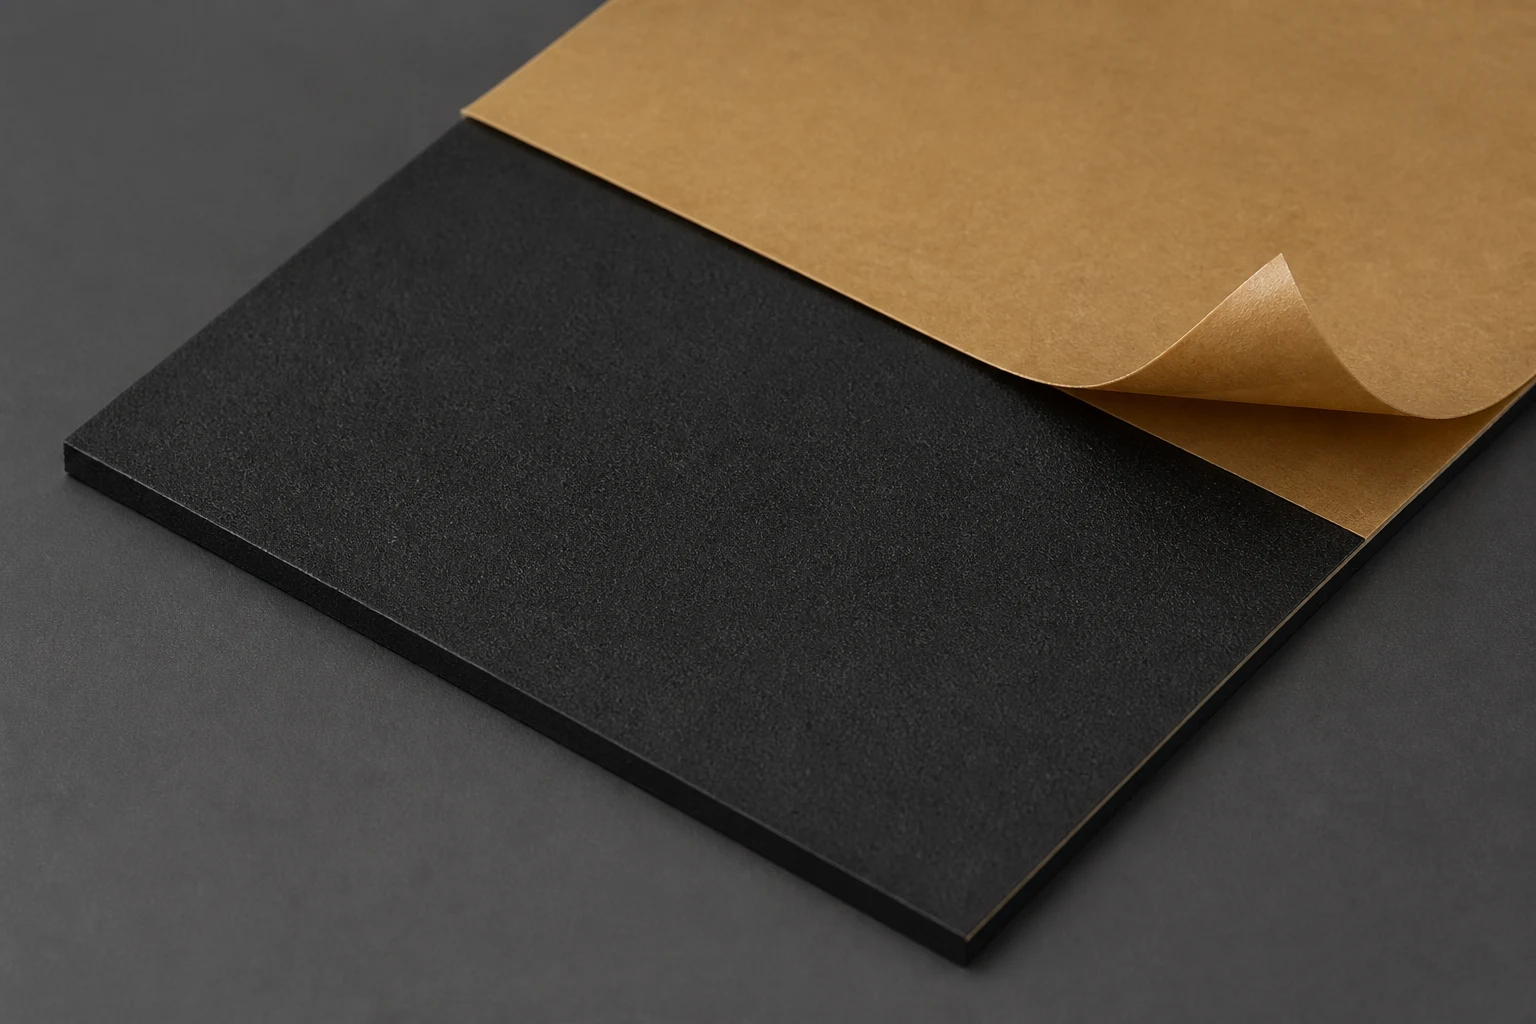
How to fit the profile around a frame
Measure the contact line
Check the available width and closing clearance around the frame or enclosure.
Prepare and apply
Clean the contact surface, remove the liner progressively and lay the profile without stretching it.
Check the closure
Close the part and check that the profile seats evenly without obstructing the latch or hinges.
Product details
Self-Adhesive EPDM Foam Profile
Choose a listed format and include the reference in your enquiry.
Check availability ↗| Format | Colour | Reference |
|---|---|---|
| 30 mm x 20 m | Black | 000093-01EAN 3830044412609 |
| 50 mm x 20 m | Black | 000094-01EAN 3830044412616 |
Tell us the format, quantity and what you are working on. We will help with the next step.
The details.
Answered.
Have a different application in mind? Tell us what you are working on.
Ask FasVix ↗Where should the profile sit?
Place it on the prepared contact area where the closed part meets the frame, with room for hinges and latches to work.
Which width should I choose?
Measure the flat contact area and select the 30 mm or 50 mm profile that fits without overhanging. Both are 3 mm thick.
Does a foam profile make a cabinet waterproof?
No water-ingress rating is established here. That depends on the full enclosure and how the profile is compressed.
Give the closing edge a clean finish.
Measure the gap and contact width first, then choose the 30 mm or 50 mm roll that fits the frame.